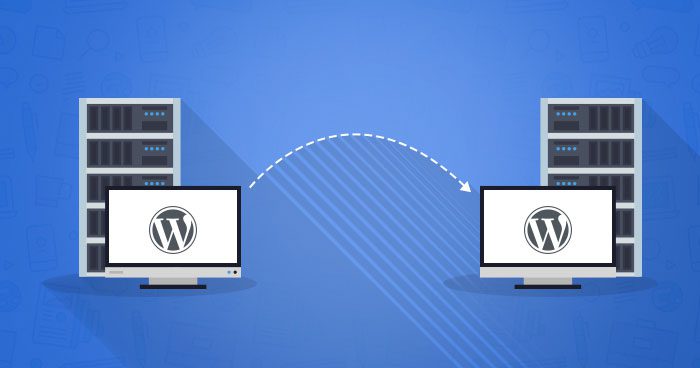
Whatever the case may be, you will find all of the information required to carry out a WordPress site migration with the following steps.

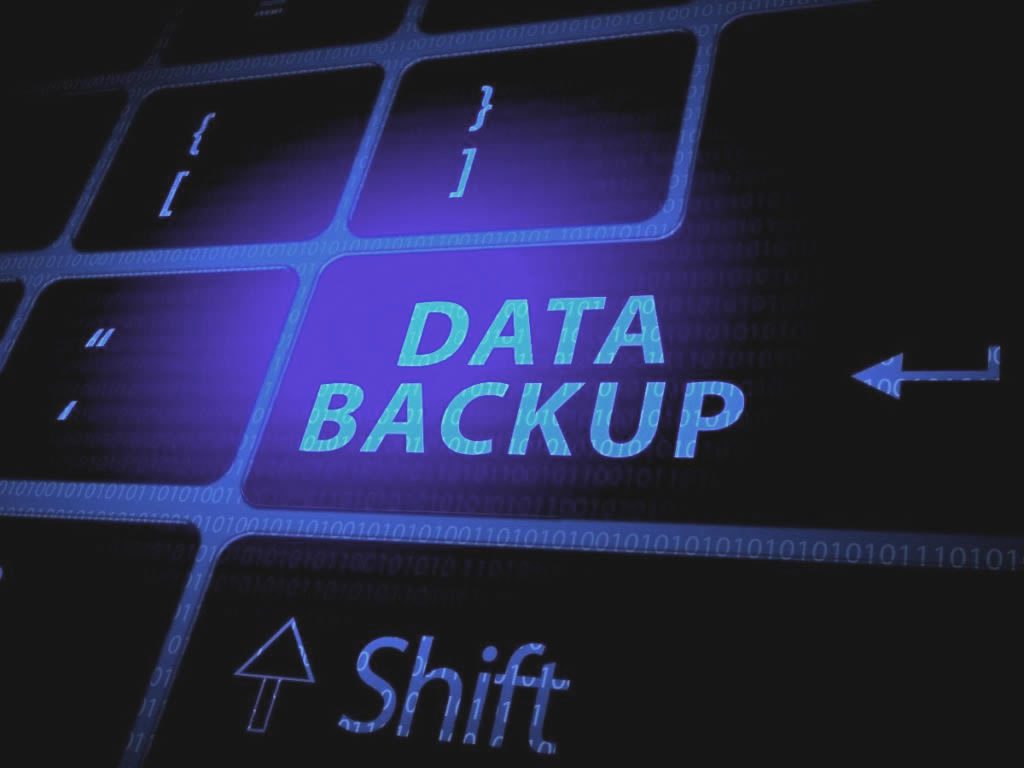
Make a complete backup of your website’s files
Even before deciding on a new web host, you should create a backup of your complete website. Aside from the migration procedure, it is critical to perform frequent backups in case of human error, technological problems, and so on.
To back up your WordPress-powered website, you can use a plugin (UpdraftPlus is an excellent option) or the backup tool offered by your web provider (if it offers you this possibility).
You can also do this manually by copying your FTP’s full contents to an external hard drive, cloud storage space, or any computer/server.
Depending on the size of your site and the number of photographs you’ve posted… It is possible that the backup will take some time. As a result, we will take advantage of this time to complete the next stage in the transfer of your site.
Export your WordPress site database

It is fairly simple to export the database associated with your WordPress website.
To do so, simply login to the latter’s administrative panel (cPanel in most cases) and launch the phpMyAdmin application. Then, choose the database containing your WordPress installation and click the ” Export ” button.
You can leave the default export settings (Mode: quick, display only the most important options) alone; this will suffice. Then press the ” Run ” button. After the export, a file will be saved locally on your computer.
Make a WordPress database on your new web hosting account
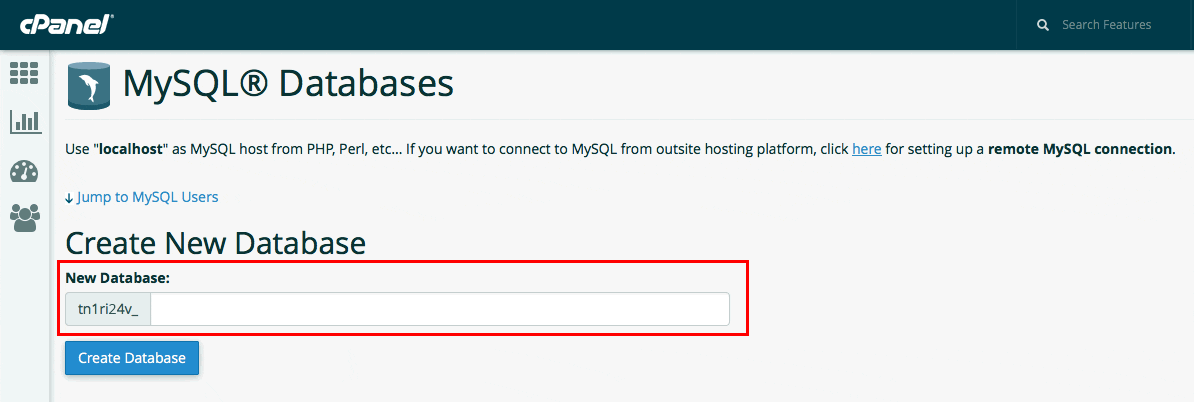
Before carrying out the migration of your website to your new web hosting, you will have to create the environment that will be able to host your WordPress installation. What exactly should be done? On your future site hosting, you will need to establish a blank database.
Connect to your new host’s administration panel and then to the cPanel interface. In our example, we will use the ” MySQL Databases ” application.
Once on the interface in question, create a new database, name it, add a new user (choosing a name and a secure password), and then assign this user full privileges to your data database.
Remember to write down all of the information you just defined (DB name, user name, password) in a corner since you will need it soon.
Update the wp-config.php file
The remainder of the WordPress site migration procedure will require you to alter the wp-config.php file in order to fill in the new database information (the one we have just created).
Your site’s full backup should now be complete. Navigate to the location where you requested it to be saved. Locate the wp-config.php file in the relevant folder. Once you’ve located it, copy it and store it somewhere else (in case you do something wrong later).
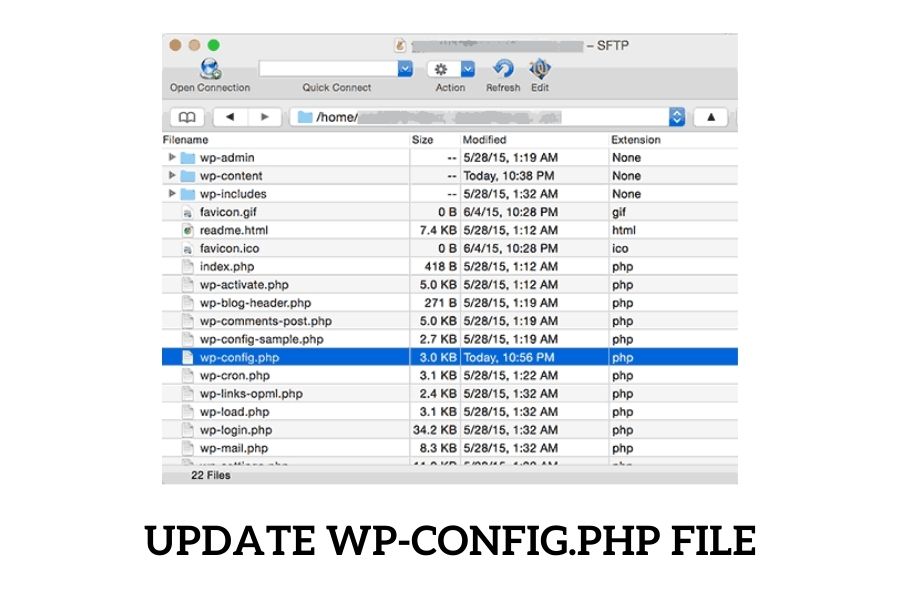
Open the original wp-config.php file in your preferred text editor. You must now change the database name, as well as the username and password:
In the wp-config.php file, look for the following lines:
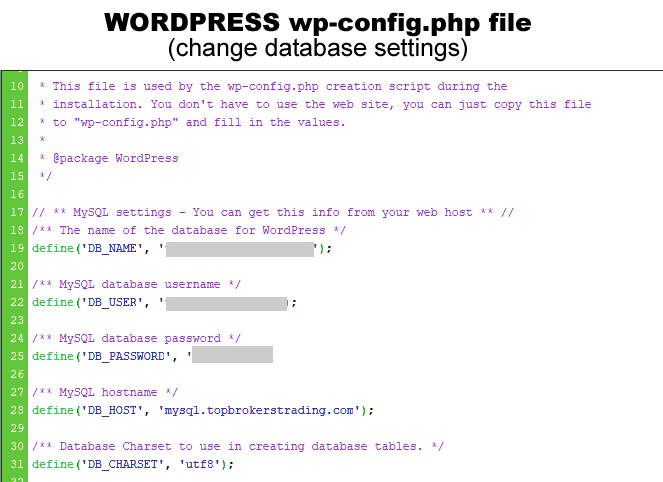
- define(‘DB NAME’, ‘yourdatabasename’); >> Change ‘nameofyourdatabase’ here (the value entered will correspond to the name of the database defined at your old host).
- define(‘DB USER’, ‘databaseusername’); >> replace the “databaseusername” value with the new username you defined in the previous step of our guide.
- define(‘DB PASSWORD’, ‘adminaccountpassword’); >> Replace your old administrator account password for your WordPress database with the one you just created.
After you’ve done all of these changes, all you have to do is save and close your wp-config.php file.
Import your WordPress database
We’re almost there. The next step is to import your WordPress database into the new database that we have asked you to build.
Go to the phpMyAdmin portion of your new host’s cPanel and choose the new database created less than 5 minutes ago.
By pressing the ” Browse ” option, you may locate the file containing your database’s export. Then uncheck the option for the partial import, and double-check that the format is actually ” SQL “.
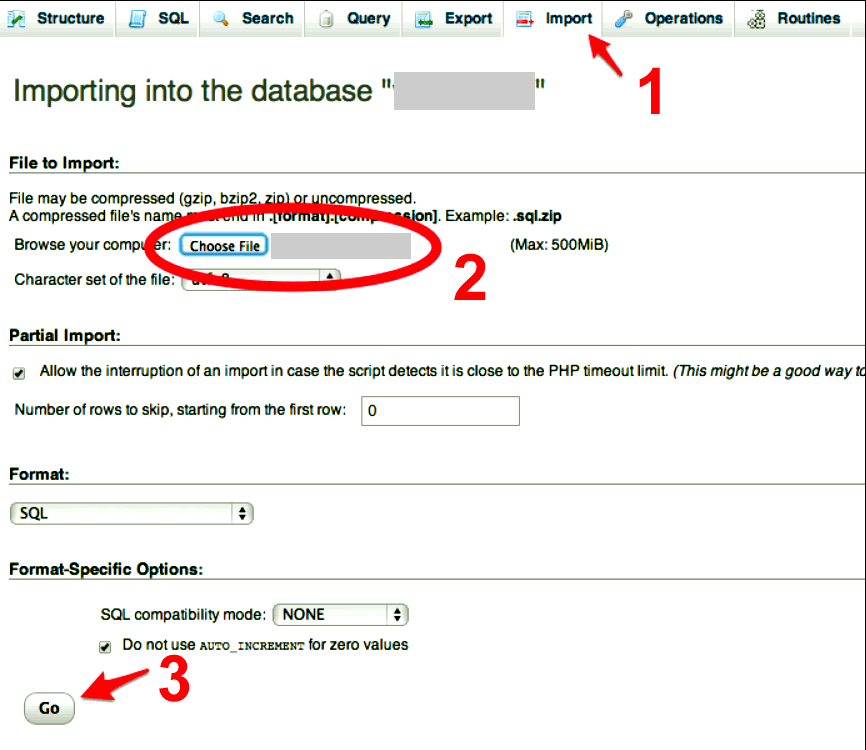
When you’re finished, all you have to do is click the ” Run ” button. When the import is finished, a warning message will show on your screen.
Upload the WordPress files from your old host to your new host.
You’ve never been more on the verge of finishing your WordPress site migration.
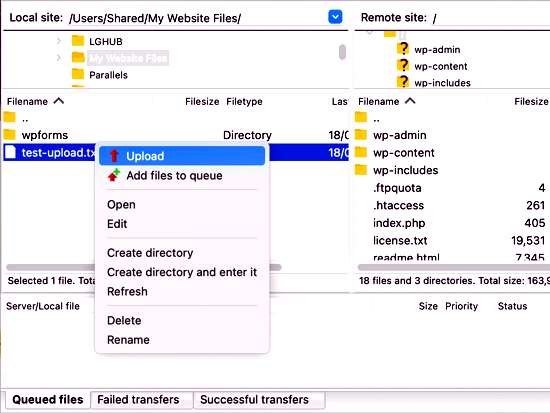
To finish this process, log in to your new web hosting account’s FTP and navigate to the folder that will house your website. If this is the only site that will be hosted on your FTP, you can copy all of your site’s files to the public Html folder’s root.
Continue by copying your site’s files (and the updated version of the wp-config.php file). This stage will take a few minutes and is primarily determined by the size of your site. As a result, it varies greatly.
Even after you’ve finished copying, don’t erase anything from your computer/external storage/Cloud storage. First and foremost, you must ensure that everything is proceeding as intended. As a result, keep all of the files warm.
Change your DNS and check your website for issues
The final step in completing your WordPress site conversion is to update the DNS.
These are now pointing to your old host. As a result, you will need to change the NS (Name Servers) so that your site uses those of your new web server. If you’re having problems finding the information, don’t be afraid to contact customer service.
To adjust your site’s DNS, go to the control panel of your domain name and then to the “Nameservers” section. Then simply click “Modify”.
After making the modification, save it and wait up to 48 hours for the set to be propagated. The last thing you need to do after this 48-hour period is walk through your WordPress site to ensure everything is running properly.
If you don’t notice anything out of the ordinary, wait another week as a precaution before deleting all the data associated with your site at your old server and canceling your subscription. Nothing prevents you from storing all of the data on an external storage space indefinitely if you really want to make it happen.
Once your site has been transferred to your new server, remember to set up automatic backups and monitor their progress on a regular basis.
Conclusion
And now, if you’ve made it this far, it means you’ve successfully transferred your website to your new web server. 🙂